Thursday, February 10, 2011

Merry LO

I thought I'd share one more Christmas time LO I've completed. This was a quick LO.

The embellishments are from a pack I got at my local HL. It made this LO a snap.

I printed this collage from snapfish.com and put my favorite Christmas pictures in it. I cut the collage on a straight line and added the {merry} sentiment.


The letters for "Merry" were made from green thickers that I added green stickles to. The red stripe was sent through my cuttlebug with a Fiskars embossing plate.


Thats it! Super easy and simple!!


Thanks so much for looking!

Happy crafting!

-Jessica

Gingerbread House LO

Just just thought I'd share a LO with you. Just before Christmas we decorated a gingerbread house.


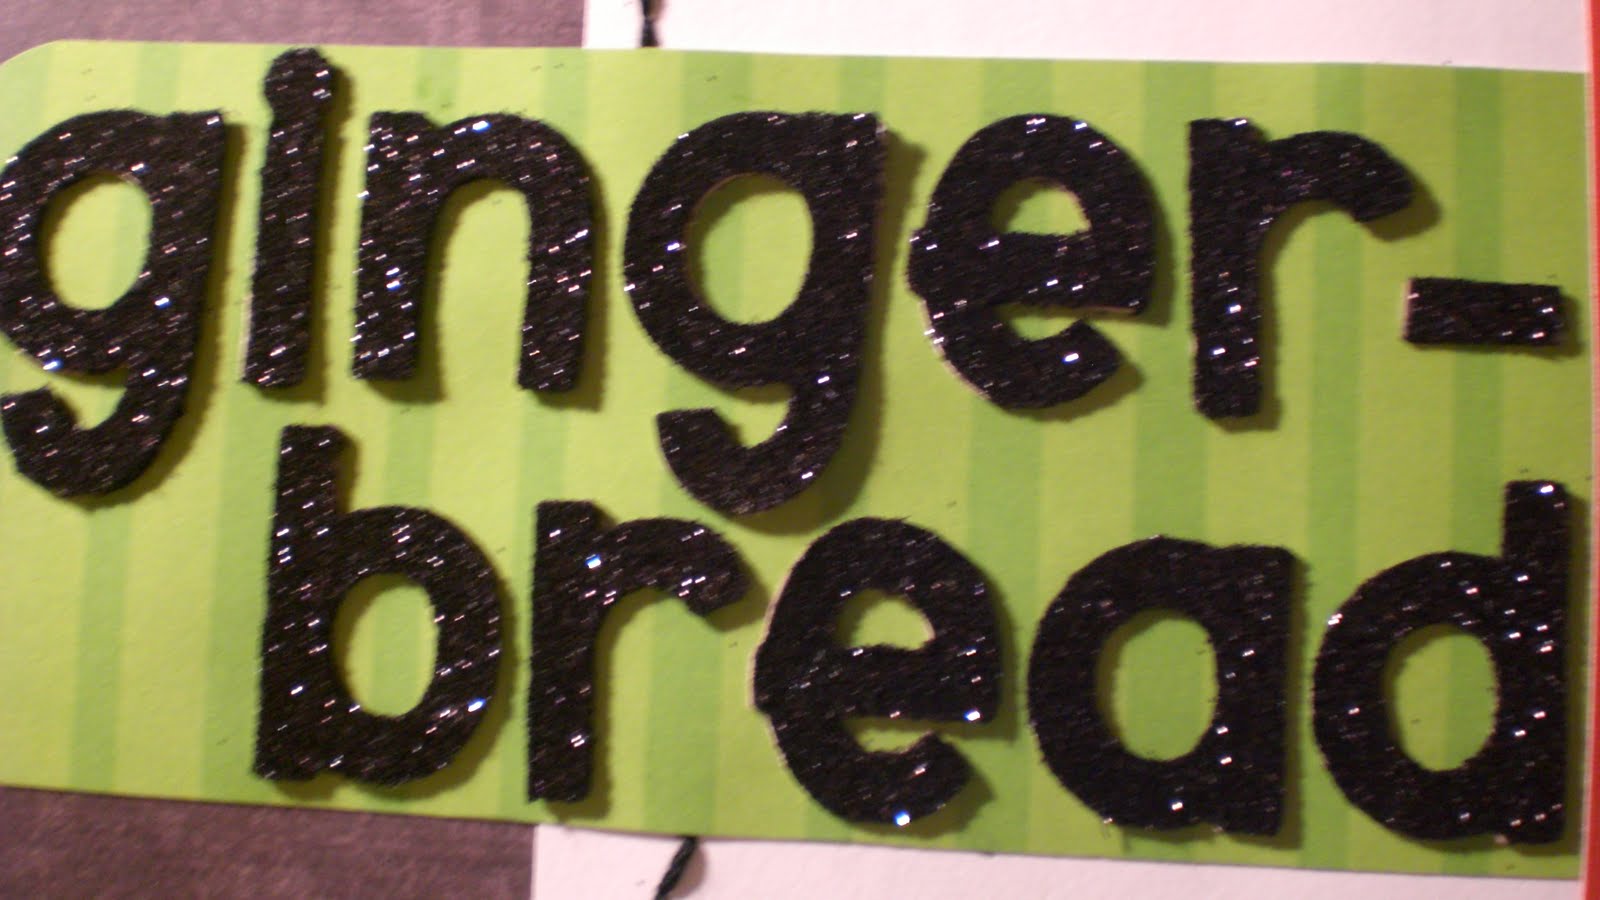
The words "gingerbread" are cut from the Simply Sweet cartridge. I cut them in chipboard to give the letters some dimension. I cut them again in black paper and covered that in black glitter.


The gingerbread are cut from the Paper Doll Dress Up cartridge. I covered them in flocking and added stickles to define the cuts on them.


The border is cut from the Martha Stewart punch around the page.


Thanks for looking!!

Happy crafting!

-Jessica

Tuesday, February 8, 2011

Happy Birthday Card

Here is a quick birthday card I made for my mom.

This is made from the Sweet Treats Cricut cartridge.

To give the cake more "umph" I covered it in stickles! I probably should have covered it in adhesive and glitter instead of the wet stickles because it warped the cake in places. But it still gave the effect I wanted!


For the patterned paper I used the Cricut Celebrations paper pack. I've used it on many birthday cards, I love it!


I set the cake up on pop dots!


Thanks for stopping by!

Happy crafting!

Saturday, February 5, 2011

Get Whale Soon Card

Hey everyone! I just wanted to share a quick card with you.

My DH's grandma has been feeling under the weather lately and I thought I'd send her a card to cheer her up.

The whale was from the Create-A-Critter Cricut cartridge.


Something I have become very fond of is the Studio G cards with matching envelopes. I get them at my local M's in the $1 bin. They come in lots of colors and styles. I like these better than using regular card stock as the base of a card for a couple of reasons, 1.) it lets me have more "sturdy" writing capabilities and 2.) I don't have to worry about putting an insert for writing notes in a card with a dark base. Even if I have a card with a color I'm not crazy about, I can cover it completely with my own card stock to hide it. They are very versatile! -And did I mention they are only $1??!! :)


I used the bow from the porcupine on the whale. Gotta love her!! :) Oh and don't forget the stickles!!


Because I don't have super good white ink pads, I used wet embossing on this My Pink Stamper stamp. For this I used a Versa Mark Ink Pad, White Embossing powder and my heat gun.


Thanks for taking the time to check this out!

As always, happy crafting!!

Thursday, January 20, 2011

It's a Boy - LO

Hi everyone!
Just wanted to share with you a 2 page LO I've been feverishly working on. Turns out I'm the slowest scrapper in the world... haha.

For this LO I used 4 Cricut Cartridges and the DCWV Nana's Nursery Baby Boy Paper Stack.


For the Train I used New Arrival. The animals are all cut from Create a Critter and the letters for the name and date are from Simply Sweet, welded together in my Gypsy. The banners are from Simply Sweet - stretched in my Gypsy. Love my gypsy!!! :)


This LO was fun for me because I did it differently than I have any other LO. Basically I knew the five photos I wanted to use and I layed them out in my Gypsy. (I just used George and Basic Shapes to hold the spot of the photo - even though I never cut it out)
I designed the LO around those photos and this is what my gypsy screen looked like before I started cutting.
To design this two page LO I chose the 12X24 mat option on my Gypsy and designed the left and right pages accordingly.


The animals on the gypsy LO screen were all the base models of the animals. For each animal I added a tab and added the layers there. That way when I was ready to cut I just rearranged the animals according to where I had room for the scraps on my mat.

(Even though the 12x24 mat was chosen - I only cut things out with my 12x12 mat. I just had to make sure the images that were actually being cut would only be where they would be on the screen for a 12x12 mat.)


The banner is from Jubilee and stretched to fit the top of my LO. I put the little boys name in it and welded as much of it together as I could. I liked putting the name in the banner so I knew I had the exact size I wanted.
I did the same thing for the date inside the train to make sure it fit nicely.
(I did delete the banner and train car before cutting!)


I kept this banner blank because I need to ask his momma what his exact weight and length was when he was born. :)


If you would like the gypsy file for this.. just let me know. I'm having trouble with my sharing site for cut files right now. But I'd be happy to email you the file if you'd like.

Thanks so much for stopping by! Happy crafting!!

Saturday, January 15, 2011

A New Type of Word Book

Hi everyone!

I am so excited to share with you a new type of word book I have created. This video shows you three of them.


If anyone wants a tutorial video for making these just let me know and I can do one for you. The steps are pretty much the same as they were in my last post and video on making a word book. It's actually easier than a typical word book because you dont have to stretch each page. Like I said, just let me know if you would like more information on how to make this in either Design Studio or Gypsy.

Here a couple pics of some other books I have done since I made this video.


Thanks for stopping by!

Happy crafting!!
Saturday, January 8, 2011

Student Teaching Journals

Hello Everyone!!!

I wanted to share with you a project I have completed. These are journals made from store bought notebook paper. I have made them for myself and some friends who are going to be student teaching soon. I really hope they enjoy them!


Recipe for this project:
Paper Studio - School Days Paper Pack
Doodlecharms - apple
Don Juan - letters
Plantin Schoolbook - Tag
Spellbinders Nestabilities
Notebook Paper (torn out)
Bind-It-All
Jute (or twine) - optional
Glossy Accents - optional

Thanks for looking!!

Happy crafting!